The Cisco AnyConnect VPN client for Linux is recommended. The following instructions are provided for those who prefer to use a built-in VPN client for Linux. Please note that while native OS VPN connectivity is not officially supported, the instructions below are provided as a courtesy and the installation steps and/or procedure will vary depending on the chosen Linux distribution.
If you require additional support, please contact your local IT group.
Overview
Stanford's VPN allows you to connect to Stanford's network as if you were on campus, making access to restricted services possible.
Two types of VPN are available:
- Default Stanford (split-tunnel). When using Stanford's VPN from home, we generally recommend using the Default Stanford split-tunnel VPN. This routes and encrypts all traffic going to Stanford sites and systems through the Stanford network as if you were on campus. All non-Stanford traffic proceeds to its destination directly.
- Full Traffic (non-split-tunnel). This encrypts all internet traffic from your computer but may inadvertently block you from using resources on your local network, such as a networked printer at home. If you are traveling or using Wi-Fi in an untrusted location like a coffee shop or hotel, you may wish to encrypt all of your internet traffic through the Full Traffic non-split-tunnel VPN to provide an additional layer of security.
You can select thy type of VPN you want to use each time you connect to the Stanford VPN.
Install the OpenConnect client
- On Debian-compatible distributions (including Ubuntu), install the network-manager-openconnect-gnome package.
- On RedHat-compatible distributions (including Fedora and CentOS), install NetworkManager-openconnect-gnome.
Set up a new VPN interface
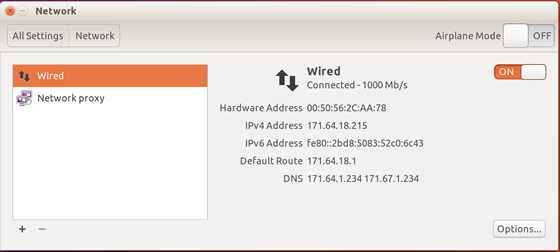
- In System Settings, open the Network panel and click the + button to create a new interface.
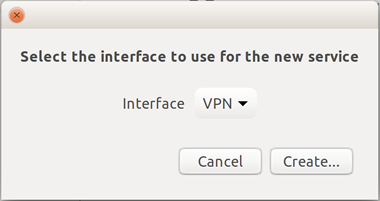
- On Ubuntu, select VPN from the list of interface types and click Create.
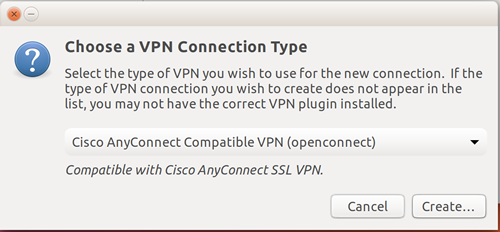
- Select the Cisco AnyConnect Compatible VPN connection type (and, on Ubuntu, click Create).
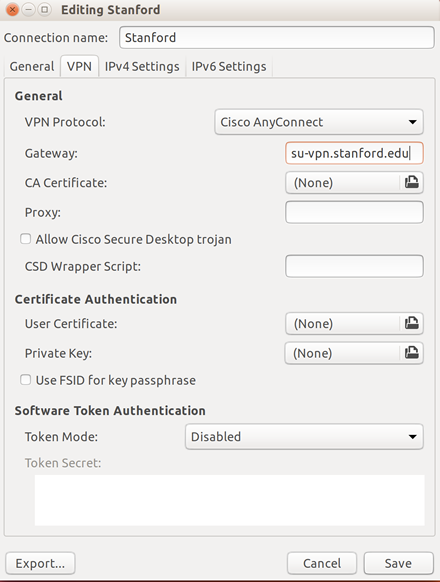
- Choose a name for the connection (e.g., Stanford) and set the Gateway to su-vpn.stanford.edu. Then, click Add (or Save).
Connect to the Stanford VPN
- In the Network panel, turn the new interface on.
- On Ubuntu, in the System menu you may also click the Network icon select the new interface from the list of VPN Connections.
- On Fedora, in the System menu you may choose VPN Off and click Connect.
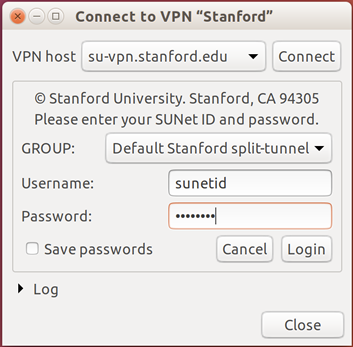
- In the Connect to VPN dialog box, enter the following information and then click Login.
- GROUP: select Default Stanford split- tunnel or Full Traffic non-split-tunnel
- Username: your SUNet ID
- Password: your SUNet ID password
-
Complete the two-step authentication.